Also known as additive manufacturing, is a method of creating a three dimensional object layer-by-layer using a computer created design.
Advantages
Disadvantages
Design a Knight chess piece:
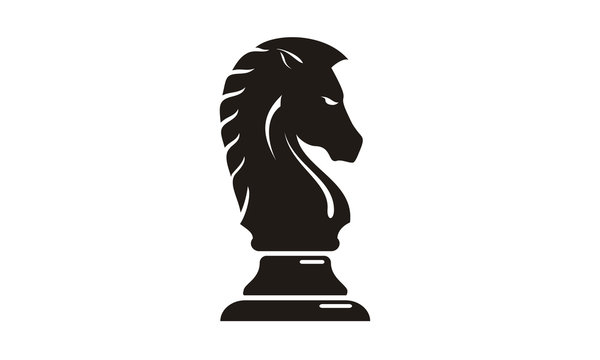
Download and put into Illustrator, trace, and export to a .svg
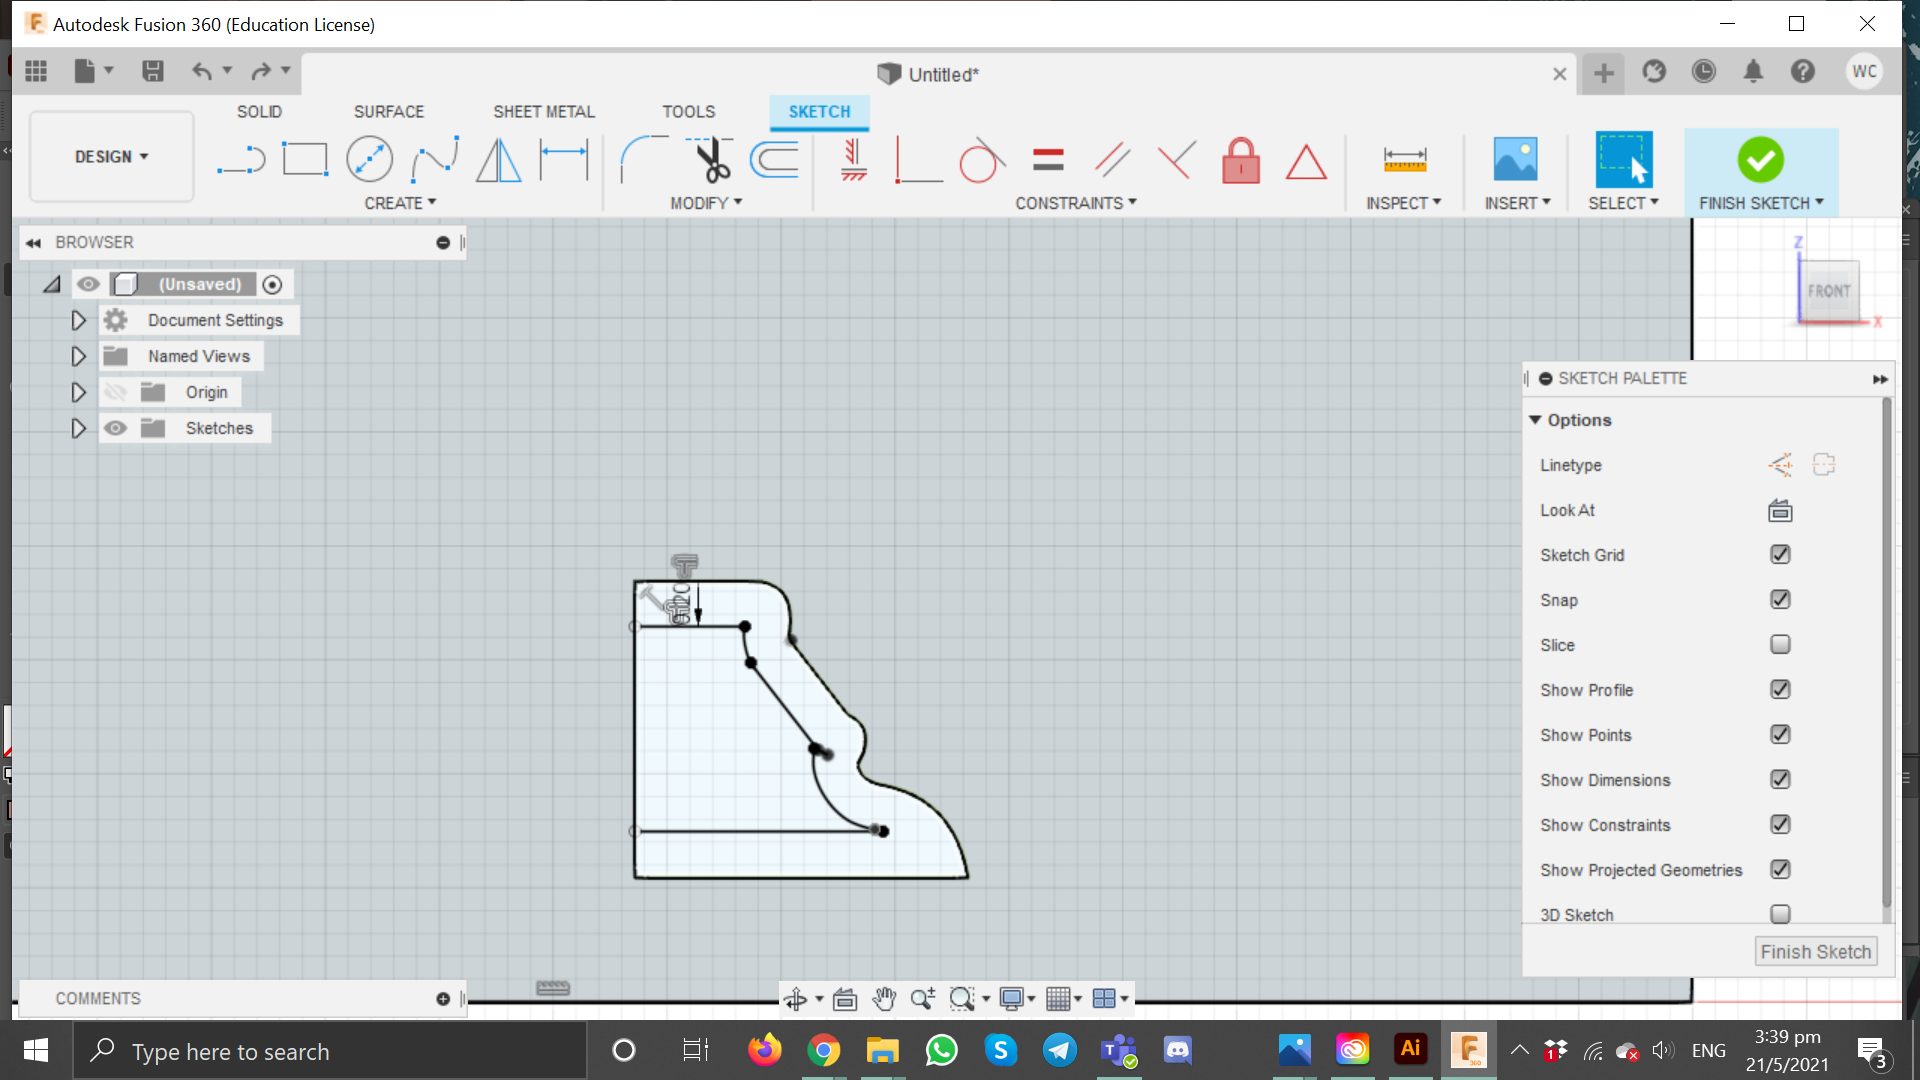
Offset dist about 2mm. Make sure to close of the shape also.
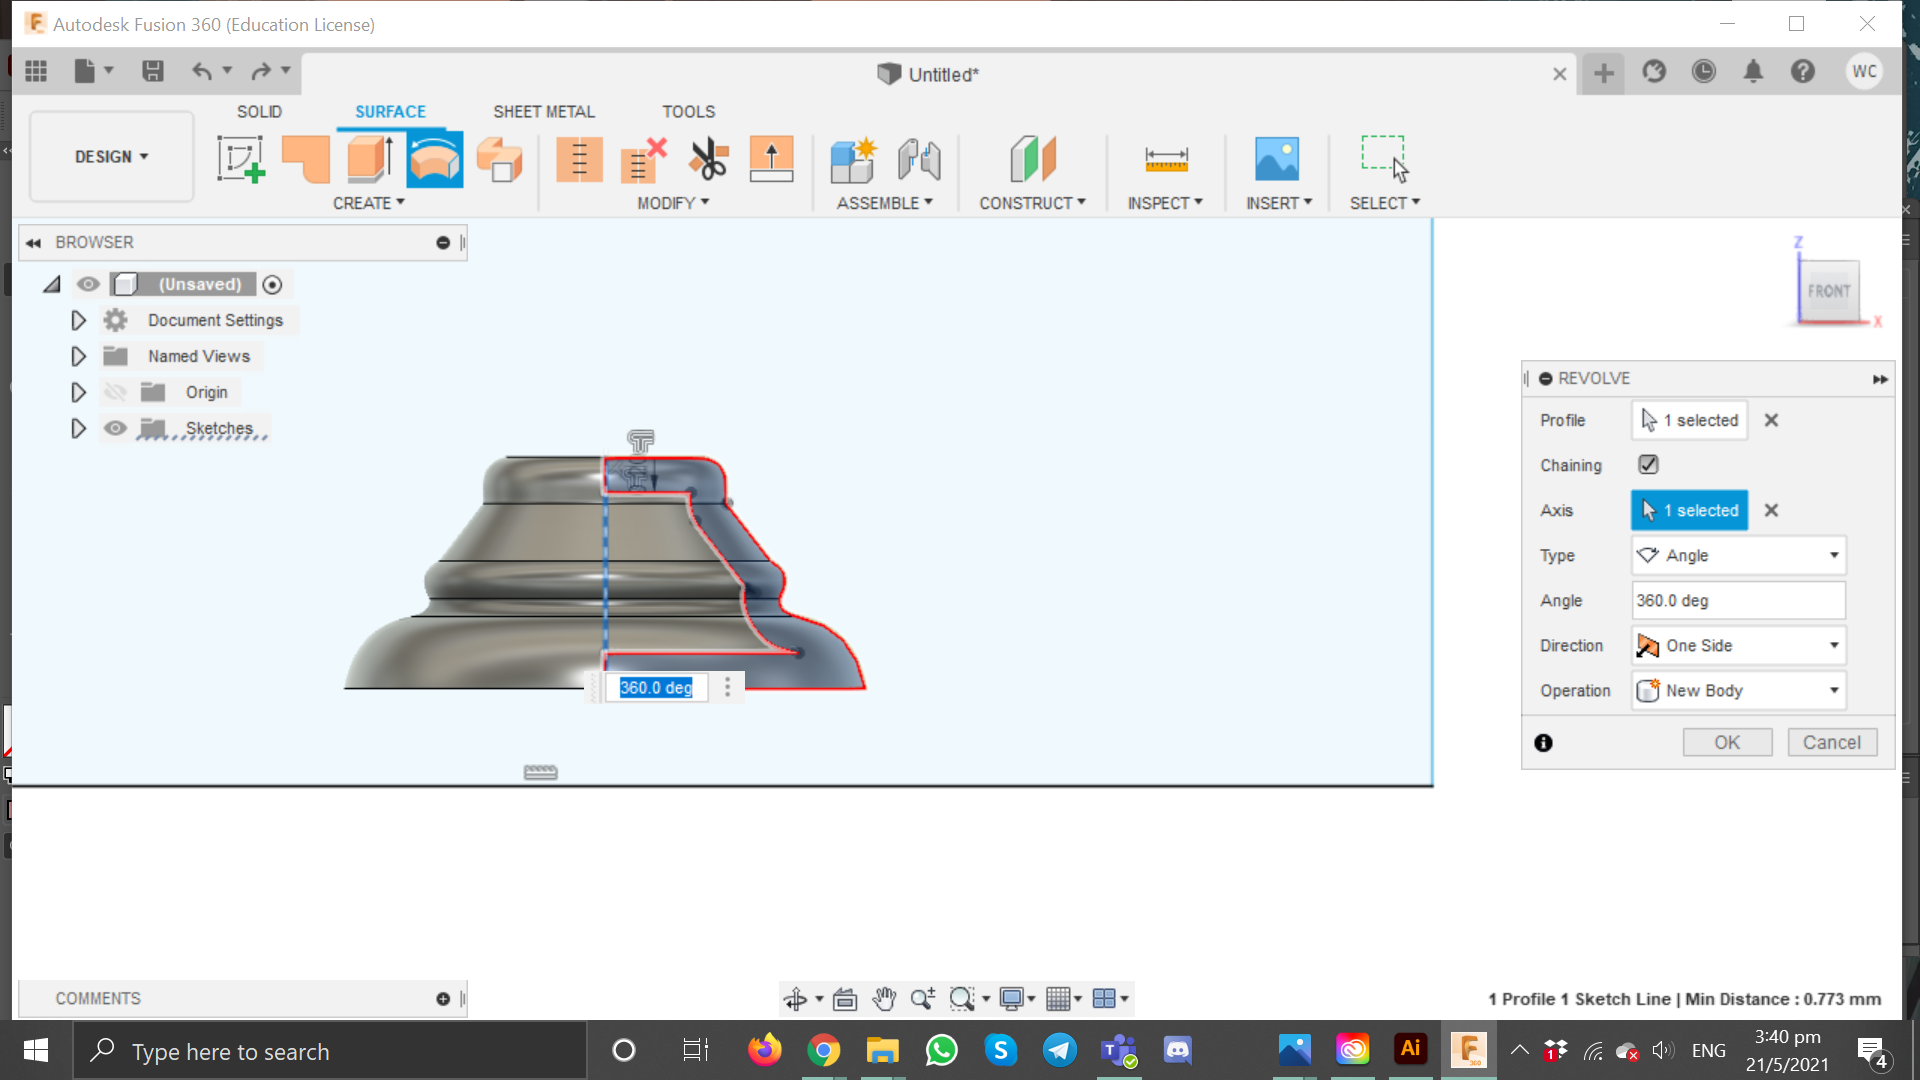
Can create a midline (to revolve around), select the base sketch as the profile and revolve around the z-axis, angle - 360
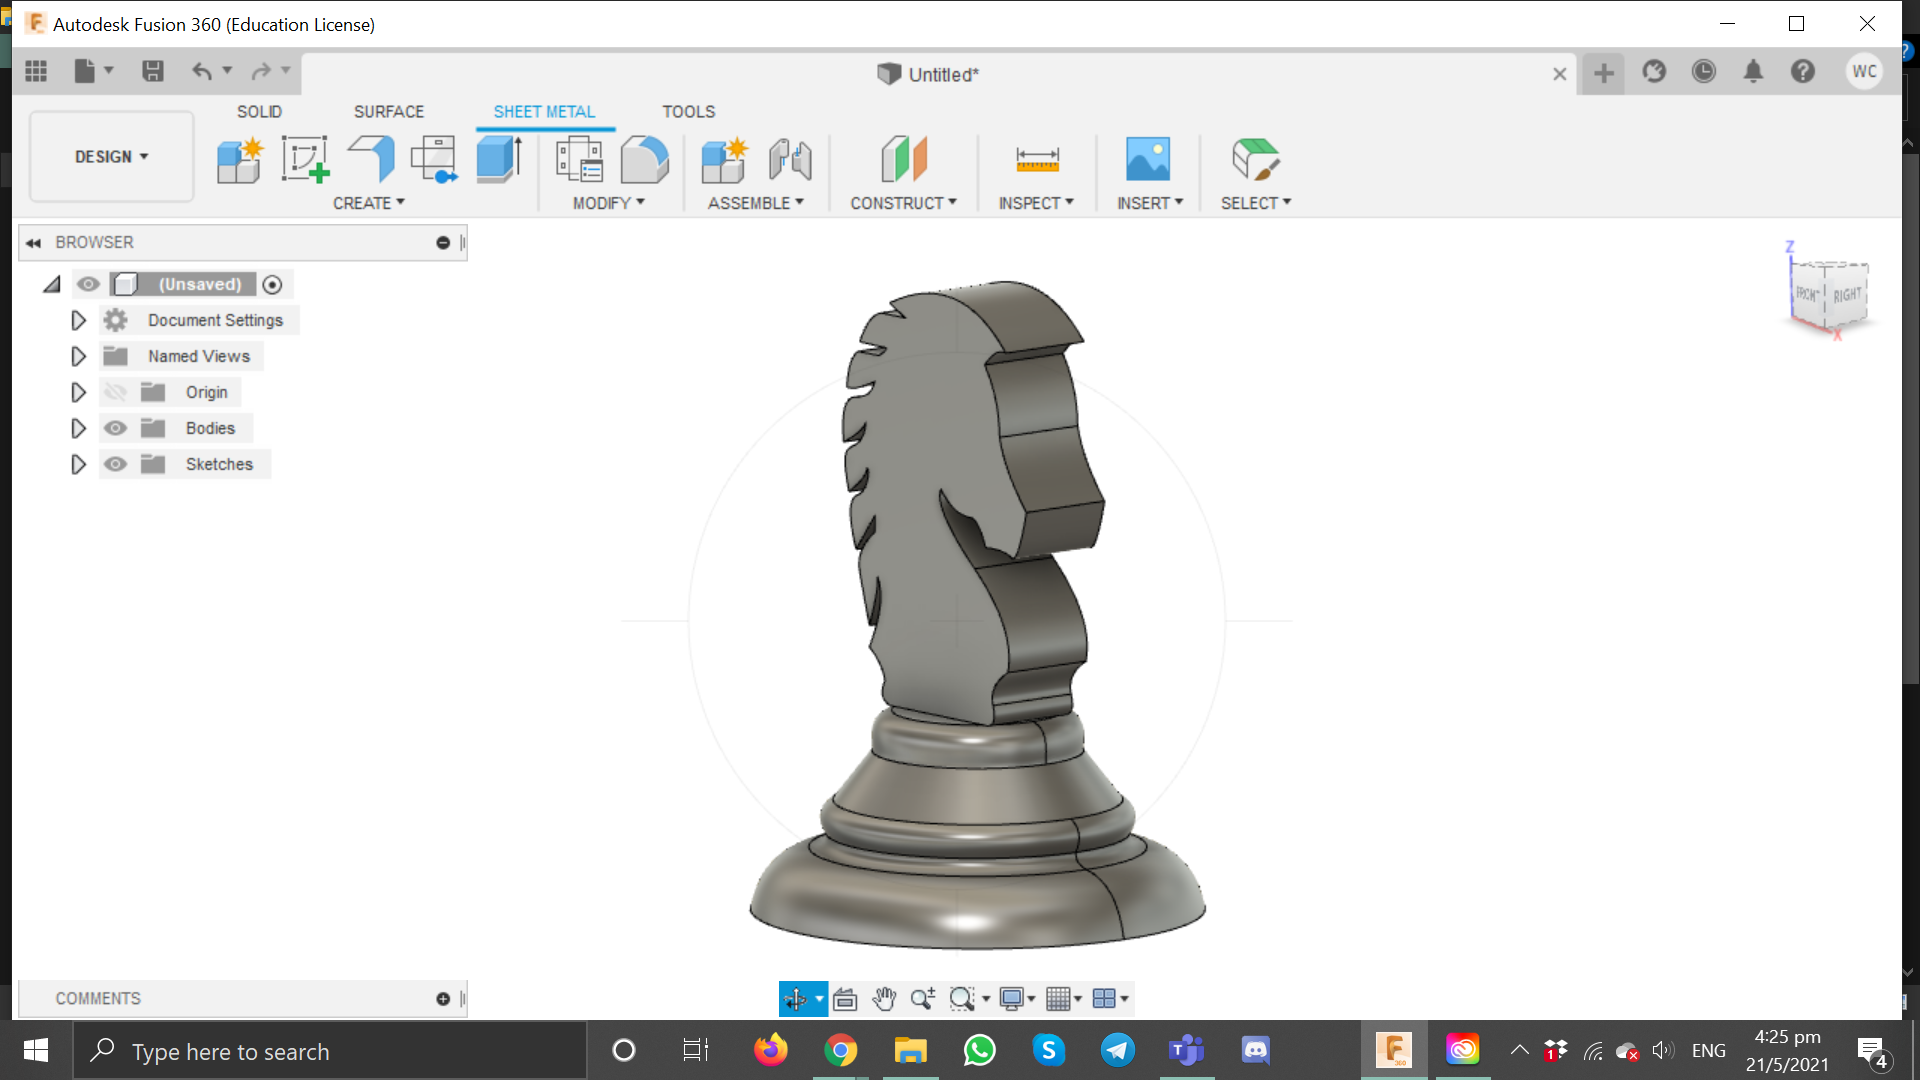
Create sketch on the front plane, insert the .svg file of the knight's head, extrude symmetrically ~4mm
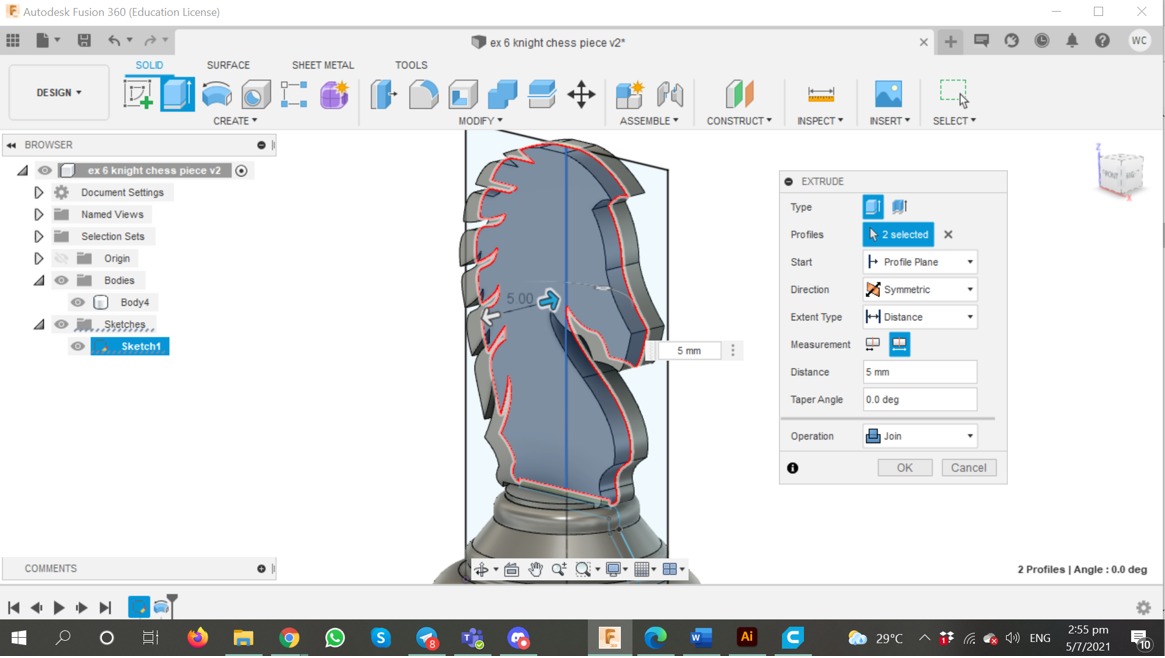
I needed to edit the thickness of the chess piece to 5mm. Press'E' to extrude, Extrude > Directions >Symmetric > Distance > 5mm Operation >Join
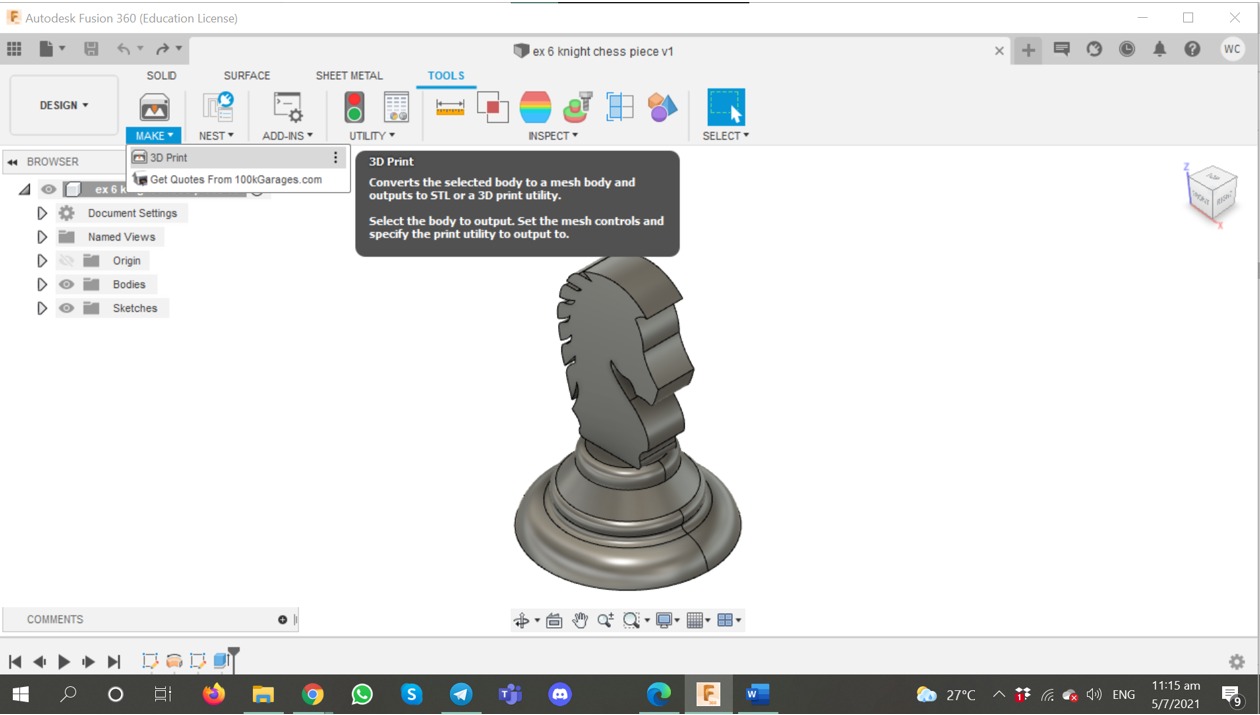
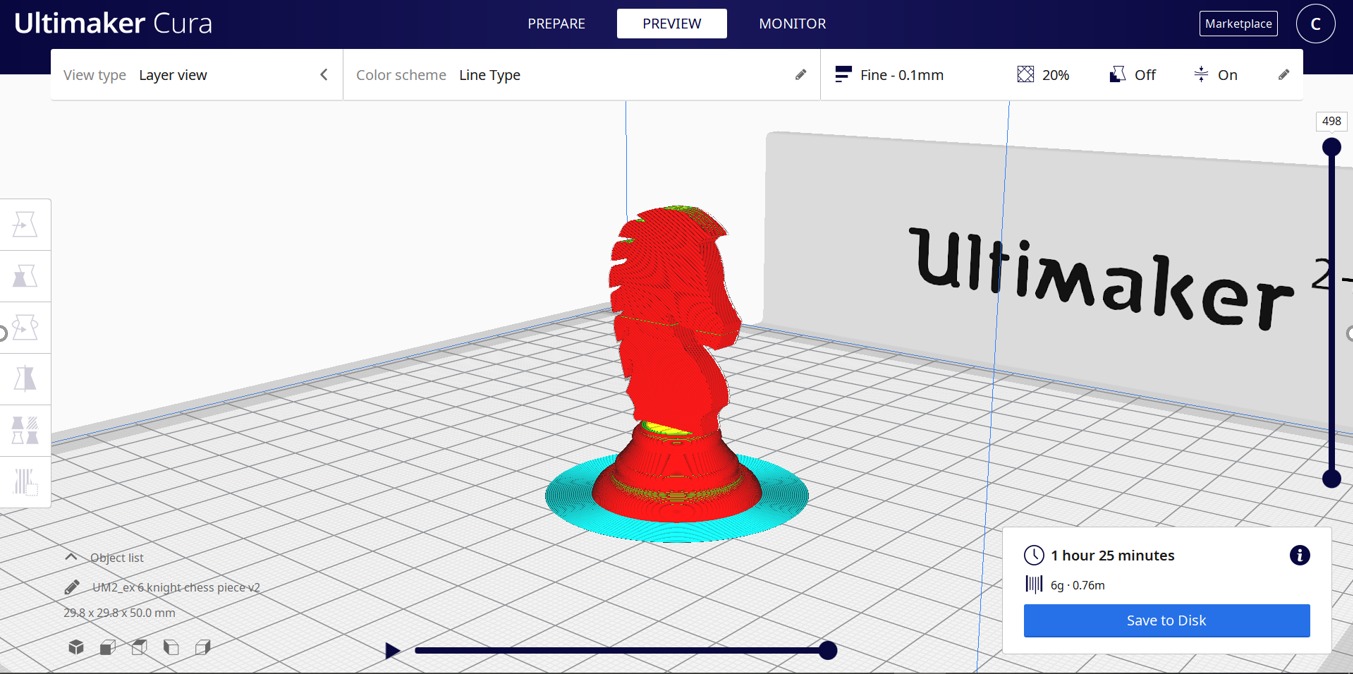
Go to Tools > Make > 3D print
Oops!
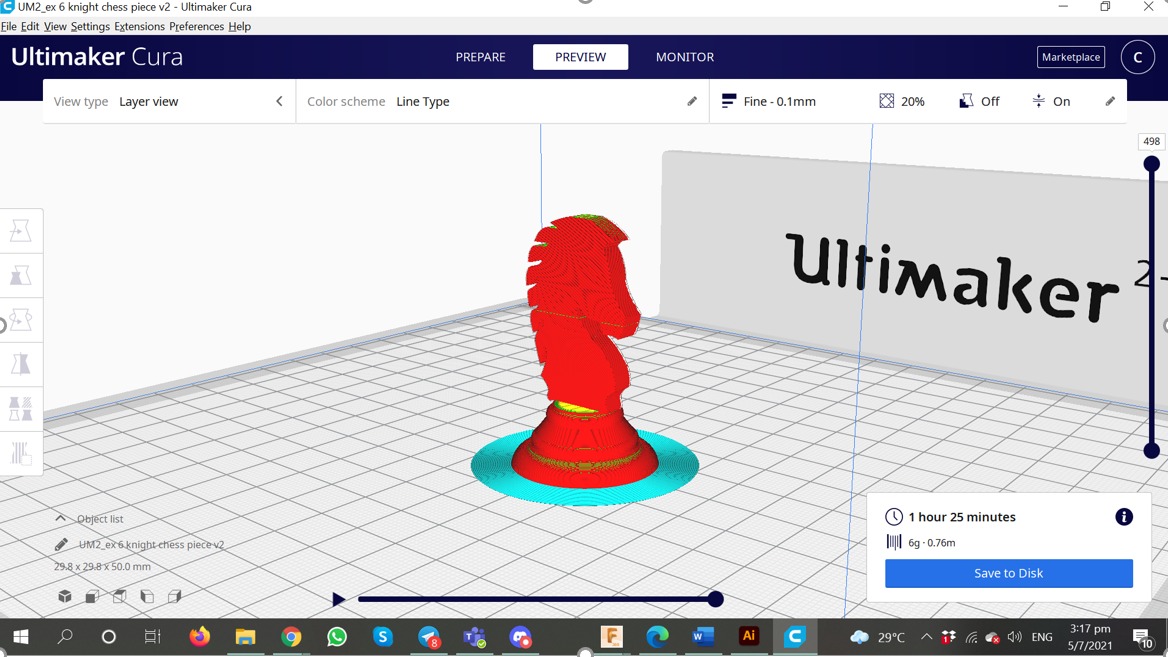
Initially the print was 1hr 25mins, I changed the profile from Fine -0.1mm to Normal - 0.15 mm.
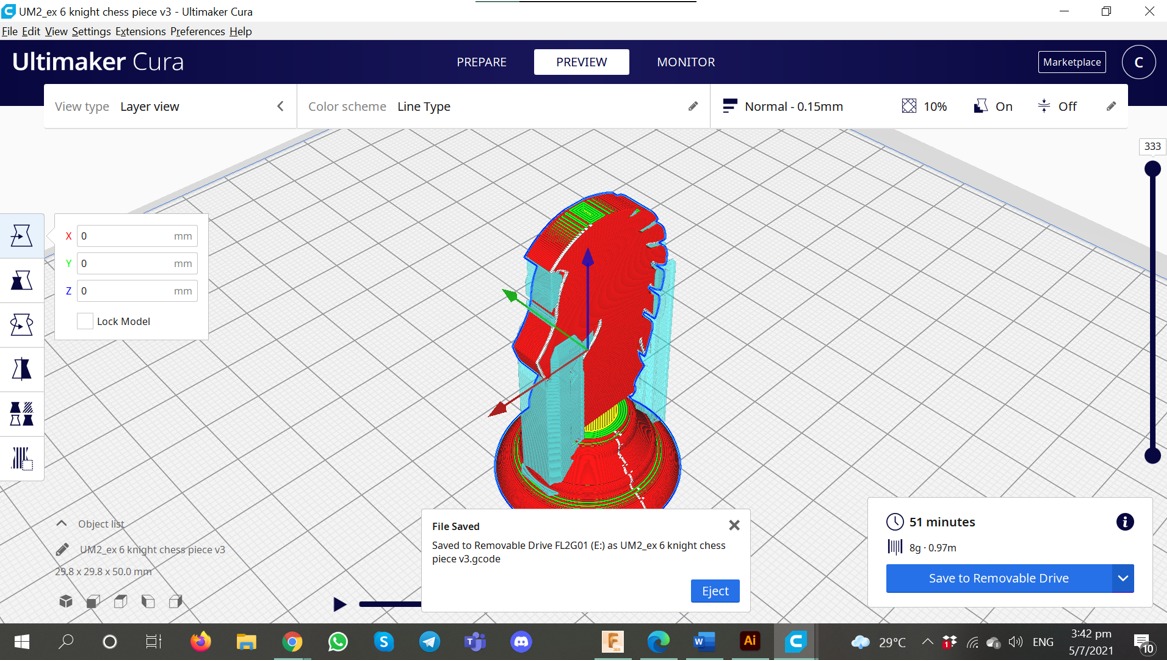
Click 'Slice' at the bottom right, and save to the SD card as a Gcode. Then just insesrt into the Ultimaker bottom left SD card reader and click print and choose your file.
Tbh I had no idea about 3d printing, but by asking around, and trial and error, it was a fun process. One thing i didnot expect was the supports were actually quite tedious to remove. One thing no note is that I could modify future prints so that it will use less support as possible.
.jpeg)
How to export to a gcode from the slicer, and also to operate the machine.
.jpeg)
A heated bed allows a user to control the temperature of the printing process and the cooling phase.
.jpeg)
It takes about 45mins - 1hr to print.
.jpeg)
We have to remove the supports using pliers, and using needle file for round corners.
.jpeg)
Then I went home to continue filing and sanding using sandpaper.
.jpeg)
I tried to use scissors to remove the unwanted supports, and sandpaper.
.jpeg)
This process was quite tedious as it requires time and effort.
.jpeg)
Done!